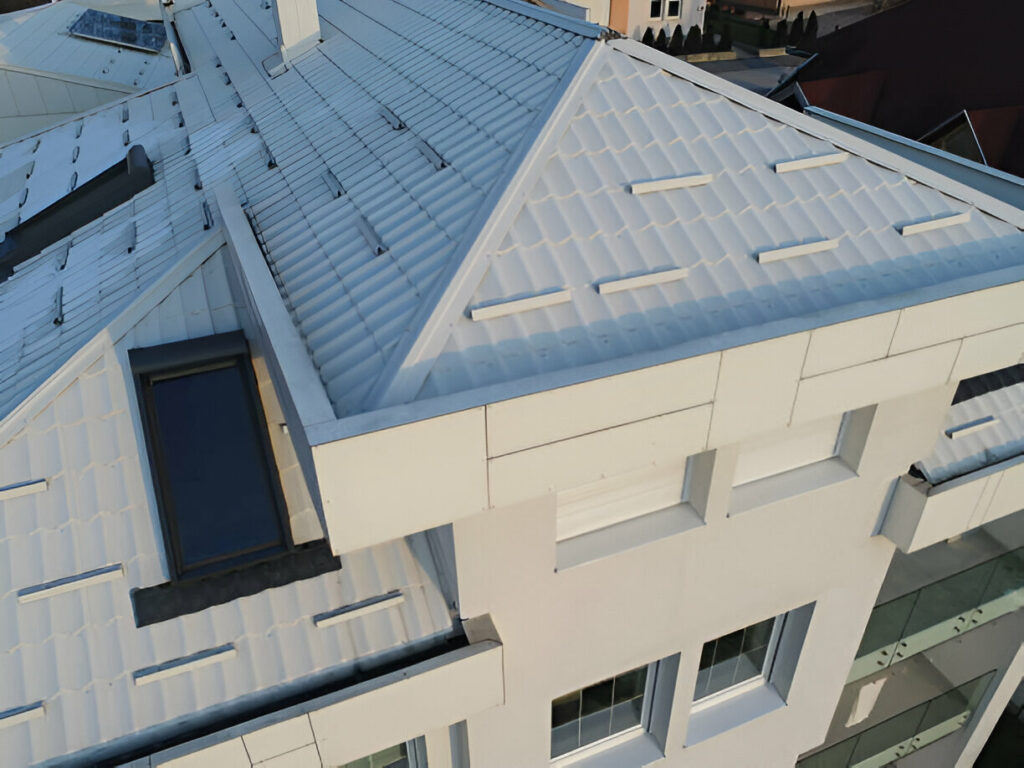
EPDM roof installation involves laying durable rubber sheets to protect roofs from the weather. It’s cost-effective, flexible, and ideal for flat roofs, providing long-lasting waterproofing for homes and buildings.
EPDM roof installation
EPDM roof installation can be fun. But it also requires the right tools. Knowing these tools is key whether you’re doing it yourself or helping a pro. This guide will walk you through the essential items needed to install an EPDM roof. Let’s get started!
1. Measuring Tape
Before starting, measure the roof. You must know the exact size. A measuring tape helps you do this. You can measure the length and width of the roof easily. This ensures the EPDM material will fit perfectly. Accurate measurements are essential, so don’t skip this step. Use a sturdy, long measuring tape to avoid mistakes.
2. Chalk Line
A chalk line is a simple tool. It helps you create straight lines. Why do you need it? EPDM sheets must be laid flat and straight. A chalk line guides you. Just snap it across the roof to mark where the sheets will go. It saves time and prevents mistakes. Plus, it’s effortless to use!
3. Utility Knife
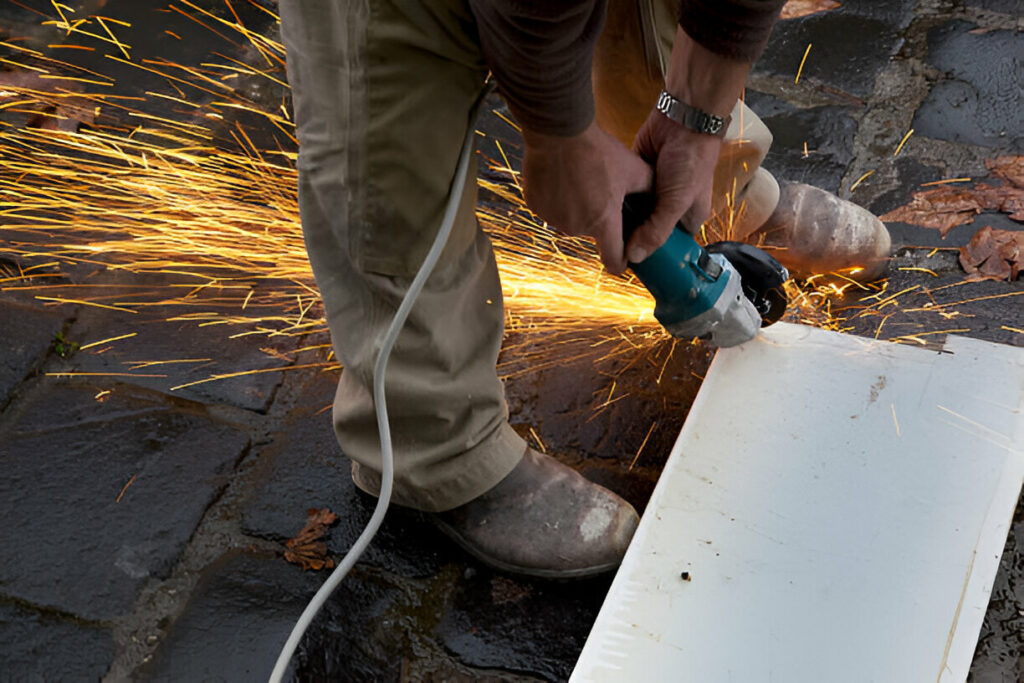
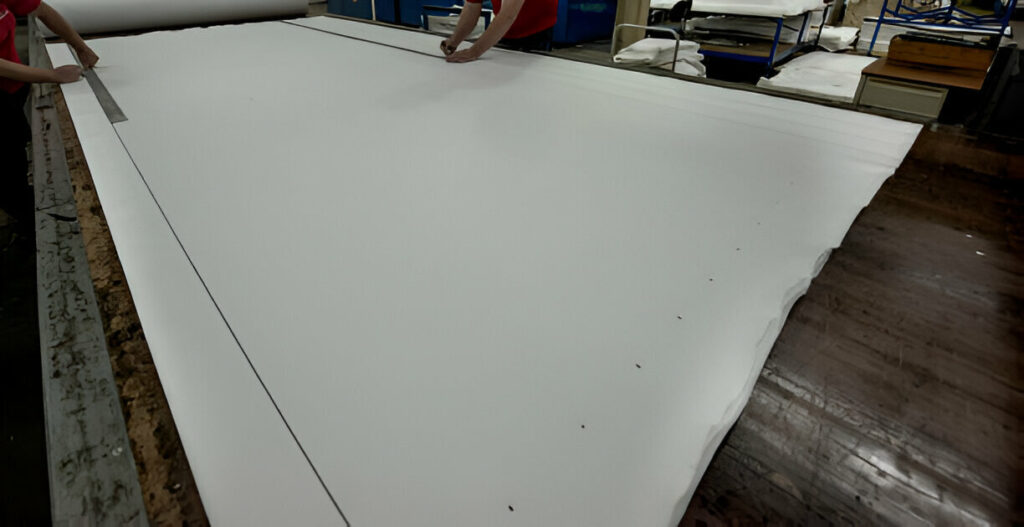
EPDM roof installation comes in large sheets. You’ll need to cut them to fit. This is where a utility knife comes in handy. Make sure it’s sharp! A dull blade won’t cut well, making the job harder. A good utility knife helps you cut the material smoothly and accurately. It’s a must-have tool for any roofing project.
4. Roofing Roller
Once the EPDM roof installation sheet is laid down, you need to press it onto the roof. A roofing roller helps you do this. It ensures the material sticks properly. The roller removes any air bubbles that might be trapped under the sheet. Without this tool, the sheet might not bond well, leading to leaks. So, make sure to use it after laying down the EPDM.
5. Caulk Gun
A caulk gun is essential for sealing the edges. You’ll need it to apply adhesive and sealant. This prevents water from getting under the EPDM roof installation sheet. Sealing the edges is critical for long-lasting protection. The caulk gun makes this job much easier, allowing you to apply the sealant evenly.
6. Primer and Adhesive
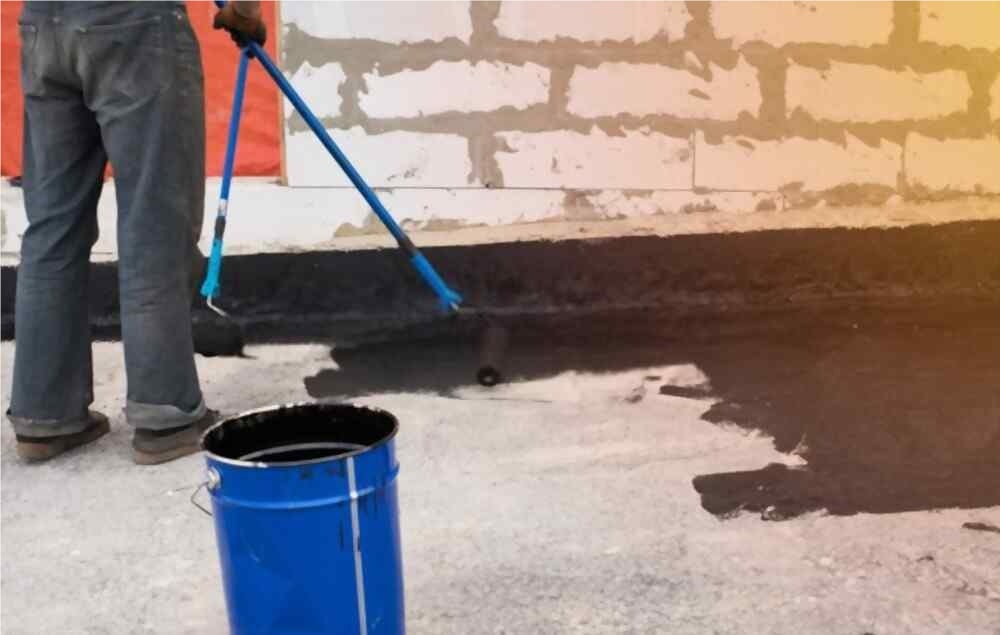
You can’t install an EPDM roof installation without adhesive. It’s what holds the material down. But before applying it, you need a primer. The primer prepares the roof surface. This helps the adhesive stick better. Without primer, the adhesive might not bond well, leading to problems down the road. Make sure to use both for a solid installation.
7. Broom or Brush
Before laying down the EPDM, you need to clean the roof. A broom or brush helps with this. It removes dirt and debris from the roof surface. This is important because even small pieces of dirt can affect how well the EPDM sticks. A clean roof ensures a better bond, so don’t forget this step!
8. Safety Gear
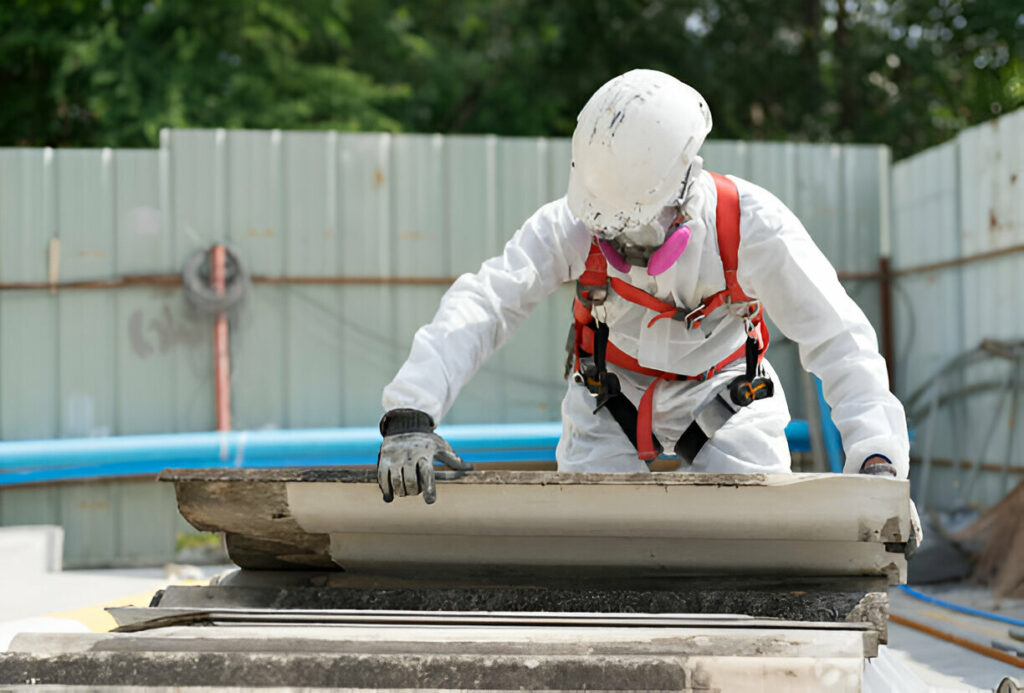
Safety is always important. When working on a roof, you need the right safety gear. This includes a harness, gloves, and safety glasses. The harness keeps you secure, preventing falls. Gloves protect your hands from sharp objects. Safety glasses shield your eyes from dust and debris. Always prioritize safety on the job!
9. Ladder
You can’t install a roof without getting up there first! A sturdy ladder is essential. Make sure it’s tall enough to reach the roof. Check that it’s secure before climbing. A wobbly ladder is dangerous. Once you’re up, you’ll need to move around safely. The ladder helps you get up and down as needed during the installation.
10. Heat Gun
Sometimes, EPDM roof installation sheets need to be heated. A heat gun helps with this. It softens the material, making it easier to fit around corners or other tricky spots. The heat gun also helps seal the edges. Be careful when using it, though. Too much heat can damage the material.
11. Scraper
A scraper is useful for removing old roofing material. Before EPDM roof installation, the roof must be clean and smooth. The scraper helps you remove anything stuck to the surface. It’s also helpful if you need to remove dried adhesive during installation.
12. Straightedge
A straightedge helps with cutting and measuring. It ensures your cuts are straight. This is especially important when fitting the EPDM around vents or corners. A crooked cut can cause gaps, leading to leaks. The straightedge keeps everything neat and precise.
13. Trowel
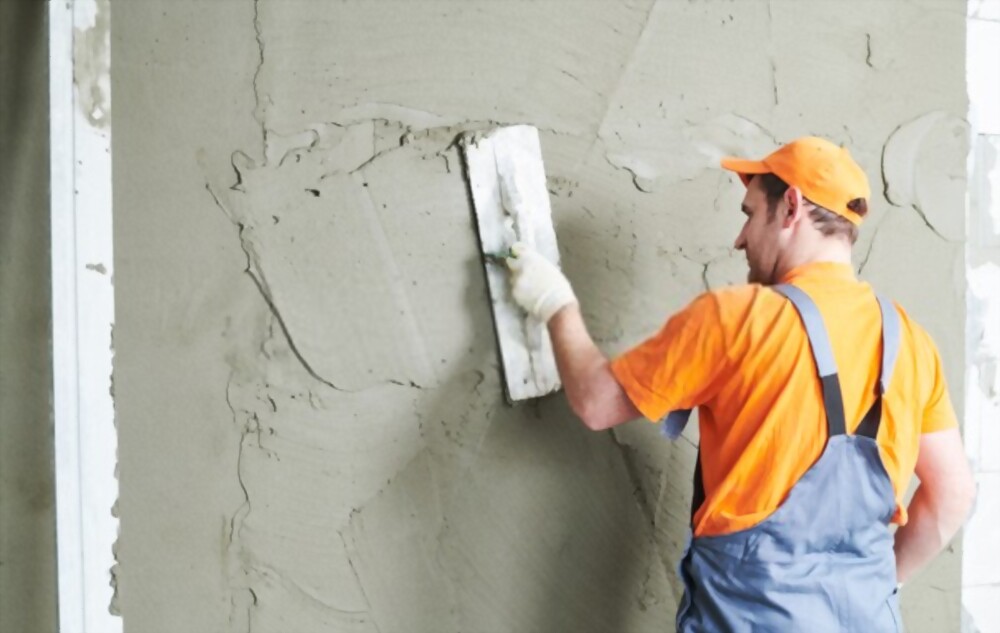
You’ll need a trowel to apply adhesive evenly. It helps spread the glue across the roof before laying down the EPDM. The trowel ensures a smooth, even layer, which is crucial for proper bonding. Without this, the material might not stick properly, causing issues later on.
14. Bucket for Water and Soap
When working with EPDM, cleaning is essential. You may need water and soap to clean the surface or tools. Keep a bucket nearby for easy access. It’s especially useful when cleaning up after applying primer or adhesive.
15. Sealant Roller
Like the roofing roller, a sealant roller ensures that the edges are sealed tightly. It presses the sealant into the roof, ensuring a watertight bond. This is crucial for preventing leaks, especially around the edges of the EPDM sheet.
16. Extension Cord
An extension cord is important if you’re using electric tools like a heat gun. Make sure it’s long enough to reach the roof from the nearest outlet. It helps keep your tools powered up and ready to go.
17. Measuring Square
A measuring square helps you ensure that your cuts are at the right angle. It’s a handy tool for precision cutting, especially when dealing with tricky corners or edges.
18. Drill and Screws
You might need to fasten certain parts of the roof. A drill and screws come in handy here. They help secure things like roof flashing, ensuring everything stays in place. Make sure to use weatherproof screws to prevent rust.
Conclusion
EPDM roof installation doesn’t have to be complicated. With the right tools, the job becomes much easier and smoother. From measuring to sealing, each tool has a purpose that makes the process more efficient. Whether you’re doing a small repair or installing a whole new roof, these tools will help you get the job done right. And remember, safety always comes first!
If you’re not sure where to get started or need expert help, consider reaching out to professionals like Hi Tech Contracting & Restoration Corp. They offer top-notch EPDM roof installation and can help you ensure a flawless installation. Learn more about their services at Hi Tech Contracting & Restoration Corp.
Contact US:
For more tips and EPDM roof installation, contact us at Hi Tech Contracting & Restoration Corp today at 718-510-6000. Let our experts help you keep your home safe from water damage. Stay connected with us on social media for the latest updates and advice:
Follow us for more insights and special offers!
Location:
