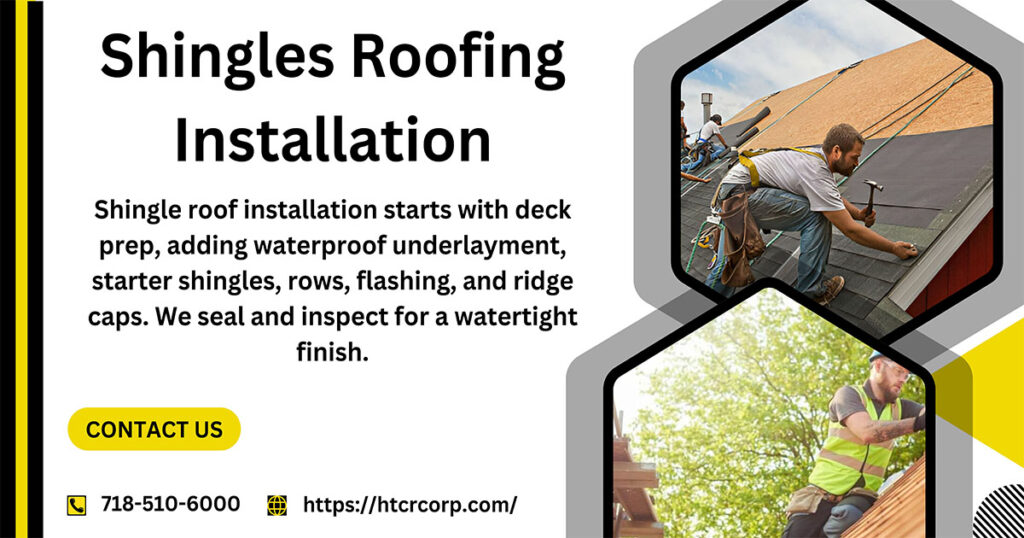
Shingle roofing installation involves selecting materials, preparing the roof deck, applying underlayment, laying starter shingles, installing shingles, adding flashing, and finishing with ridge caps for effective water protection and durability.
Installing a shingle roof is a big job. It protects your home and keeps it safe. This blog covers everything you need to know about shingle roofing installation. Let’s break it down step by step!
Why Choose Shingle Roofing?
Shingle roofing installation is popular. Many homes use it for a reason. First, it is affordable. Second, it looks great. You can choose different colors and styles. Third, shingle roofs last long with proper care.
When you choose shingles, you get a good mix of cost and quality. They are easy to install and repair. This makes them a great option for many homeowners.
Types of Shingles
There are different types of shingles. Here are the main types:
1. Asphalt Shingles
Asphalt shingles are the most common. They are made from a base of fiberglass or organic materials. These shingles come in many colors. They are lightweight and affordable.
2. Wood Shingles
Wood shingles are made from cedar, pine, or redwood. They look beautiful but need more care. They can rot or get damaged by pests. If you choose wood, be ready for regular maintenance.
3. Metal Shingles
Metal shingles are strong and long-lasting. They can resist high winds and heavy rain. They are also fire-resistant. However, they can be more expensive.
4. Slate Shingles
Slate shingles are made from natural stone. They are stunning and last for a long time. However, they are heavy and costly. You need a strong roof structure to support them.

5. Synthetic Shingles
Synthetic shingles mimic the look of other materials. They are made from rubber or plastic. They are lightweight and often more affordable than wood or slate.
Choosing the right type of shingle is important. Consider your budget and the look you want for your home.
Preparing for Installation
Before installing shingles, preparation is key. Here are the steps to follow:
1. Check the Roof Deck
Ensure the roof deck is in good shape. Look for any damage. If the wood is rotten or weak, replace it before proceeding.
2. Gather Your Tools
You will need some tools. Here’s a list of what to have:
- Hammer
- Nails
- Measuring tape
- Level
- Utility knife
- Ladder
- Safety gear (gloves, goggles)
Having the right tools makes the job easier.
3. Choose the Right Day
Weather matters when installing shingles. Pick a dry, sunny day. Avoid windy days, as they can make the job harder.
Shingle Roofing Installation
Now it’s time for Shingle roofing installation. Follow these steps:
1. Lay Down Underlayment
Start by placing an underlayment on the roof deck. This layer helps keep moisture out. Make sure to overlap each row. This step is crucial for a watertight seal.
2. Add Starter Shingles
Next, place starter shingles along the eaves. These shingles help the first row stay secure. They also prevent water from getting under the other shingles.
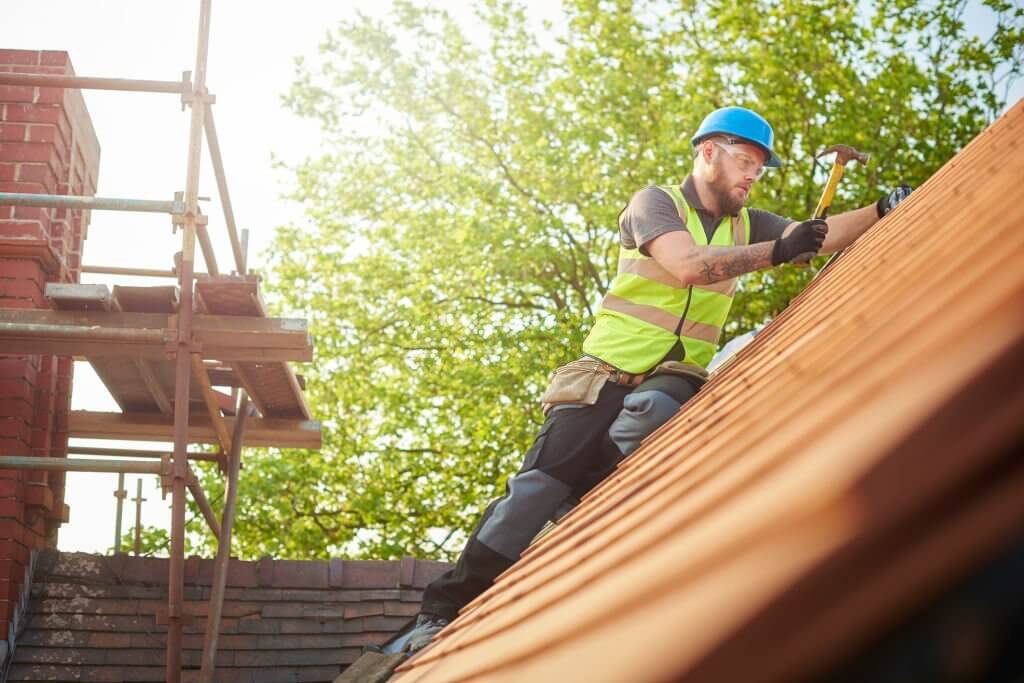
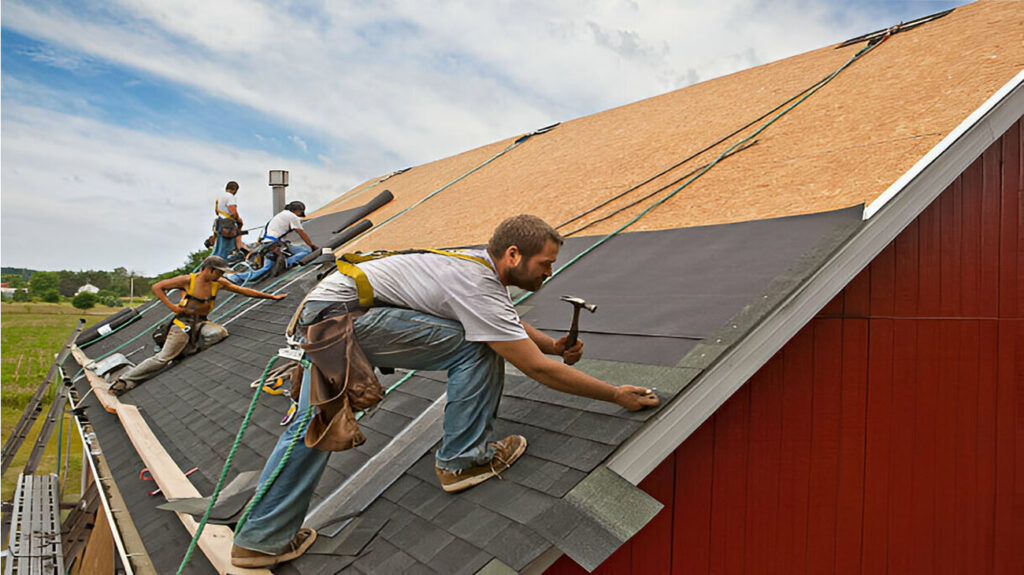
3. Install the Shingles
Begin Shingle roofing installation from the bottom up. Make sure to overlap each row. This overlap helps water flow off the roof. Nail each shingle securely to the roof deck.
4. Add Flashing
Flashing goes around areas like chimneys and vents. It prevents water from leaking. Be sure to seal these areas well. This step is vital for long-lasting protection.
5. Finish with Ridge Caps
Ridge caps are the final touch. They go on the peaks of the roof. These caps help protect the top edges from water and wind. Nail them securely to ensure they stay in place.
Sealing and Cleaning Up
After the Shingle roofing installation, sealing is next. Apply roofing sealant to any exposed nails. This step helps prevent leaks. Then, clean up any debris from the installation.
Finally, inspect your work. Make sure everything looks good, and check for loose shingles or gaps. A final inspection ensures a job well done.
Maintenance Tips for Shingle Roofs
Now that your Shingle roofing is installed, you must care for it. Here are some maintenance tips:
1. Regular Inspections
Check your roof at least twice a year. Look for damaged or missing shingles. Catching problems early saves money.
2. Clean Gutters
Keep gutters clean and free from debris. Clogged gutters can lead to water damage. Make this a regular part of your home care routine.
3. Remove Moss and Algae
Moss and algae can grow on shingles. This growth can cause damage over time. Use a soft brush or a special cleaner to remove them.
4. Trim Overhanging Branches
Trim trees near your roof. Overhanging branches can scratch and damage shingles. Keeping them trimmed protects your roof.
Conclusion
Shingle roofing installation is a big task, but it’s worth it. You can have a beautiful, durable roof with the right preparation and care. Remember to choose the right shingles, prepare properly, and follow the installation steps carefully.
Don’t forget to maintain your roof after installation. Regular checks and cleaning will keep it looking great and functioning well. A well-shingle roofing installation protects your home for years to come!
Contact US:
📞 Contact Us: 718-510-6000
🌐 Website: Hi Tech Contracting & Restoration Corp
📍 Address: 201 Bay 43rd St, 2nd FL, Brooklyn, NY 11214
Social Contact:
Location: