Outdoor steps play a major role in how safe, beautiful, and functional your home’s exterior feels. Whether you are upgrading your front entryway or building a small garden staircase, paver steps offer strength, elegance, and long-lasting performance. They resist cracking, allow great drainage, and add value to your home instantly.
As a professional hardscaping service provider, HTCR Corp handles hundreds of paver step installations every year, and in this guide, we are sharing the same step-by-step knowledge our experts use on real job sites. This article will help you understand the entire process clearly so you can decide whether to DIY or hire experts for perfect results.
Why Choose Paver Steps for Your Outdoor Space?
Paver steps are one of the most durable solutions for outdoor stairs. Unlike poured concrete, which can crack or settle over time, pavers are flexible and allow easy repairs. Their textured surface improves traction, which makes them safe during rain or winter.
Key Advantages
- Strength that lasts decades
- Slip-resistant surface for safety
- Stylish look that matches any landscape
- Easy repairs — replace one paver instead of rebuilding
- Excellent drainage, preventing water pooling
- Customizable colors, textures, and shapes
If you want steps that look beautiful and perform well all year round, paver steps are the ideal choice.
Before You Start: Planning Your Paver Steps Properly
Professional installation always begins with correct planning. Without proper measurement, slope control, and depth calculations, steps can shift, settle, or even become unsafe.
1. Measure the Total Height (Rise)
Start by measuring the height from the ground to the upper landing. Most comfortable risers are 6 to 7 inches high.
Example:
Total height 30 inches ÷ 6-inch riser = 5 steps
2. Choose Tread Depth
Safe and comfortable tread depth is 12–16 inches.
3. Mark the Area
Use stakes and masonry string to outline where your steps will sit. This helps maintain straight lines and balanced step width.
Planning ensures the entire staircase looks clean, level, and structurally strong.
Tools & Materials Needed for Paver Steps
Tools
- Tape measure
- Shovel
- Level
- Rubber mallet
- Circular saw with masonry blade
- Hand tamper or plate compactor
- Wheelbarrow
- Safety gloves and goggles
Materials
- Pavers
- Retaining wall blocks (for risers)
- Crushed gravel
- Bedding sand
- Joint sand
- Geotextile fabric
- Landscape adhesive
Each material plays a critical role in ensuring stability and long-term durability.
Step 1: Excavation — Creating a Solid Base
For strong outdoor steps, the foundation is everything. Professionals never rush this part because poor excavation can cause uneven steps or sinking.
Excavation Depth Includes:
- 4–6 inches of gravel
- 1 inch of sand
- Height of riser block
- Height of paver tread
Dig deeper than the final height to make space for these layers.
Add Geotextile Fabric
Place geotextile fabric at the bottom to keep soil separate from the gravel. This improves drainage and prevents erosion — a key step used by professional installers.
Step 2: Add the Gravel Base and Compact Thoroughly
Pour crushed gravel into the excavated area. Add it in layers of 2 inches and compact each layer fully.
Why This Step Matters
- Prevents future sinking
- Ensures long-term stability
- Provides a firm foundation
- Helps with proper drainage
A plate compactor is best for large areas; a hand tamper works for smaller jobs.
Once the gravel is in place, spread a 1-inch layer of bedding sand and level it with a straight board.
Step 3: Install the Step Risers (Vertical Structure)
Risers create the vertical height of each step. Professionals use heavy retaining wall blocks because they lock in place and support the steps securely.
How to Install Them Correctly
- Begin with the bottom step.
- Place riser blocks firmly on the leveled base.
- Make sure each block is perfectly level.
- Use landscape adhesive between blocks for added safety.
- Backfill behind each riser with gravel and compact.
Repeat this process step-by-step until all risers are fully installed.
Solid risers = stable, long-lasting stair structure.
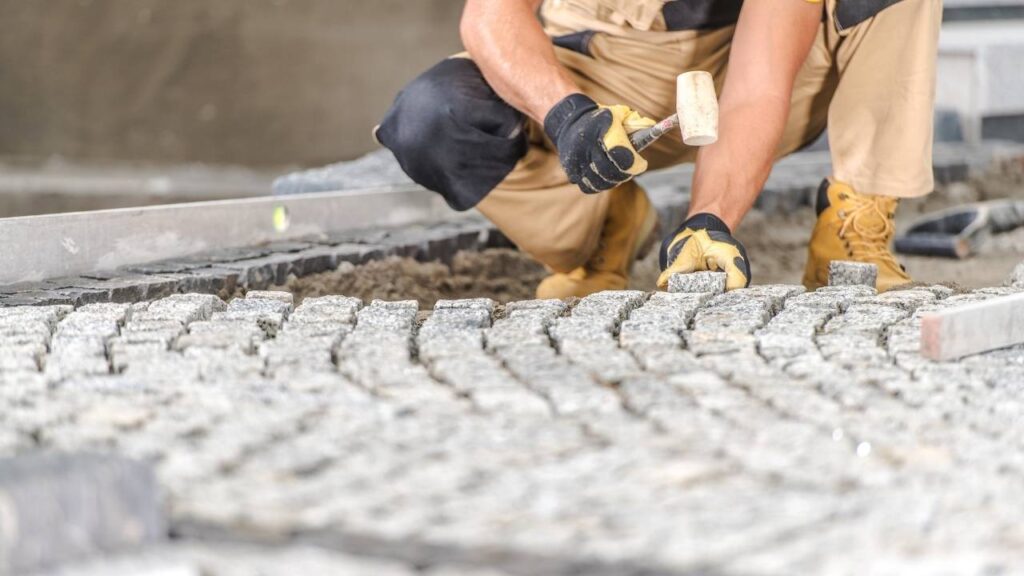
Step 4: Install Pavers on the Treads
Now it’s time to build the surface you will walk on.
Tips for Perfect Paver Placement
- Maintain a small forward slope to push water away.
- Lay pavers tightly side by side for a clean finish.
- Tap each paver with a rubber mallet to set it.
- Use a level frequently for accuracy.
- Ensure consistent tread depth for comfort and safety.
If your steps curve, cut pavers using a saw with a masonry blade.
This stage transforms the structure into beautiful, usable steps.
Step 5: Fill the Joints and Compact Again
Spread joint sand across the paver surface and sweep it into every gap. This locks the pavers in place and prevents movement.
After filling:
- Lightly compact the steps
- Add more sand if neede
- Clean the surface
This step ensures the staircase stays firm and stable under heavy foot traffic.
Step 6: Apply a Sealer (Optional but Recommended)
Sealing paver steps can improve their lifespan and appearance. It also adds protection from stains, dirt, winter salt, and UV rays.
Benefits of Sealing
- Enhances color
- Protects against weather
- Reduces fading
- Helps prevent weed growth
Always clean and dry steps before sealing.
Expert Troubleshooting Tips
Even with excellent installation, some common issues can appear. Here are professional fixes:
1. Uneven Steps
Occurs due to improper compaction.
Fix: Remove pavers, recompact base, reinstall.
2. Loose Pavers
Gaps without sand cause movement.
Fix: Add polymeric sand.
3. Water Pooling
Happens when slope is incorrect.
Fix: Adjust tread angle for proper drainage.
4. Weeds in Joints
Common in older installations.
Fix: Use polymeric sand for long-term results.
Regular inspection keeps your steps performing perfectly.
Maintenance Tips for Long-Lasting Paver Steps
- Sweep debris weekly
- Wash the steps monthly
- Refresh joint sand when gaps appea
- Reseal every 2–3 years
- Check risers yearly for shifting
Proper care can help paver steps last 25–40 years without major repairs.
Final Thoughts
Installing paver steps is one of the best upgrades you can make to your home’s exterior. From beautiful design to exceptional durability, they offer value, safety, and style. With the right materials, proper excavation, and step-by-step installation, homeowners can achieve professional-quality results.
However, if you want perfectly aligned, long-lasting, and safe outdoor steps without stress, hiring professionals is always the smarter choice. HTCR Corp provides expert paver installation services, ensuring your paver steps look exceptional and remain stable for decades.
Contact US
Website: www.htcrcorp.com/
Phone: 718-510-6000
Serving: Manhattan, Brooklyn, Queens, The Bronx, Westchester County, and Long Island.
Address: 201 Bay 43rd St 2nd FL Brooklyn, NY 11214